1. A photo tent
A photo tent lends itself perfectly to taking product photos. The biggest challenge in finding a photo tent, is to find one where the lighting works well. After all, you don't want to have too much shadow in the photos of your eyewear.
We tested several for you and Portable Photocube from Caruba with LED lighting came out on top.
Why do we like this photo tent?
- Quick to set up: we managed it in 32 seconds :-)
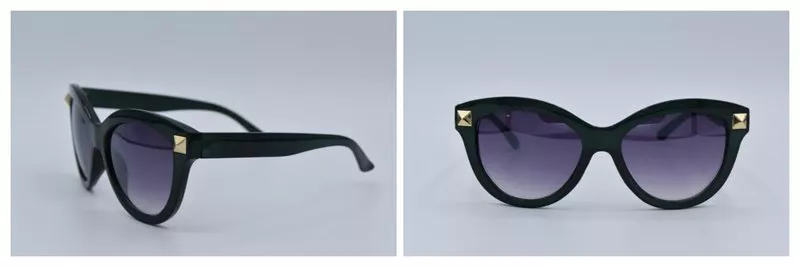
- You can use multiple backgrounds (in the test above we chose the white background)
- Lighting at the top of the tent via LED lighting: this gives you almost no shadows
2. A smartphone or a digital camera with a tripod
Smartphone
As mentioned earlier, you don't need to invest in an expensive camera at all. Your smartphone can certainly already suffice, at least if it has a good camera. We conducted two tests: one with an iPhone 7 Plus and one with an iPhone 6s. There is virtually no difference in the results.
We recommend using an adapted tripod. The advantage is that you can then always take your picture from the same vantage point. We are using the Joby GripTight One Gorillapod in this test.
Do you still opt for a digital camera? Then you should pay particular attention to being able to set the exposure. Other than that, for product photography, it doesn't really matter which camera you use.
In this test, we used the Nikon D5500 camera with a tripod.